Super Easy Gooey Chocolate Cake
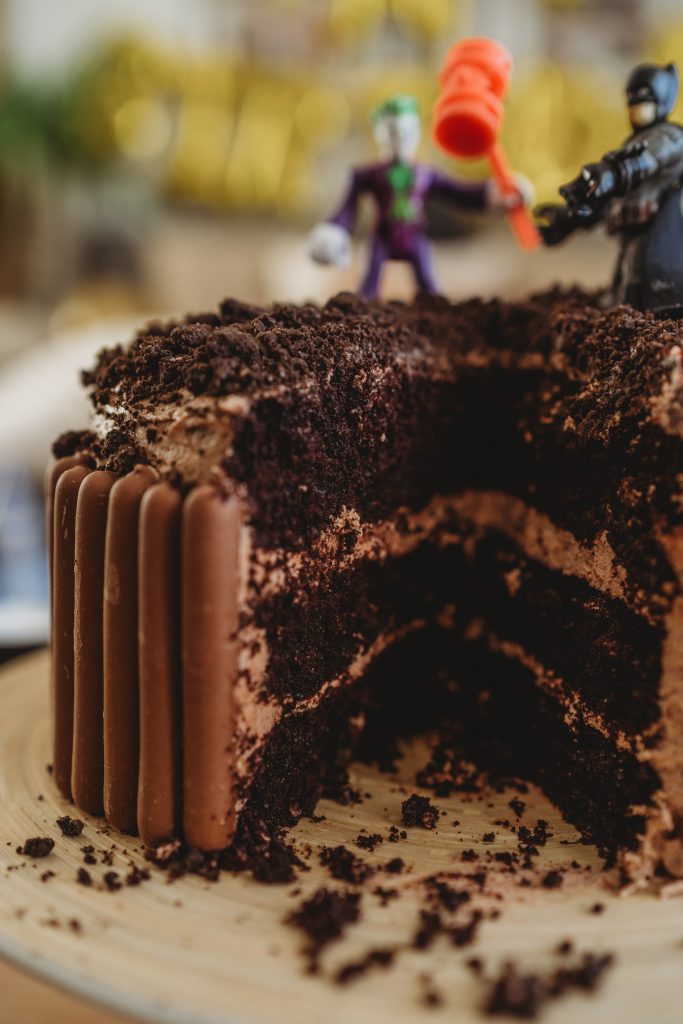
I won’t lie, I love baking but I’ve never really mastered that perfect chocolate cake of dreams. It’s always been so dry and crumbly. You know when you are served a slice of homemade chocolate cake at a party and you take a mouthful, hopeful for the sticky and gooey texture, only to be met with the crumbly, cough inducing ,desert dry cake? Yes that was me! I have eaten my fair share of terrible chocolate cake and I have also served far more!
Then one year a friend handed me a slice of homemade chocolate birthday cake and it was amazing… it so just the right texture , moist and fluffy and I begged her to tell me how she did it. She laughed and produced from the rubbish bin a box of Betty Crocker Chocolate Cake mix!! What???? I’d been conned , and in that moment my dreams have been shattered!
With so many lockdown birthdays this last year I scoured the internet for something the came close to the holy grail of the “Bruce Bogtrotter” cake in Matilda- you know gooey chocolate cake. I found a few recipes in my time that claim to work but we’re only half way there. I knew using oil over butter would help but I knew that there was something not quiet right it needed something else. Then I found it!! A few people suggested using either coffee or cola ( say what?) I know! But I promise you it doesn’t taste of either and I now have finally found a recipe that actually works!! i believe i have the best ever Easy Gooey Chocolate Cake.
It really is so easy to make and you should have most of these ingredient at home already if you bake.
For my version of Easy Gooey Chocolate Cake you’ll need :
Ingredients For the Chocolate Cake
225g plain flour
95g coco powder
2 tsp bicarbonate soda
1 tsp baking power
1 tsp salt
200g sugar ( we did half caster and half brown )
220ml veg oil
2 large eggs ( or if you only have medium use 2 eggs plus one extra yolk)
1 teaspoon vanilla extract ( the nice stuff)
95ml buttermilk ( if you don’t have or can’t get hold of buttermilk you can use 65g sour cream or plain yoghurt with a 2 tablespoons of milk )
220mls of strongly brewed black coffee or cola ( black tea could also work but wouldn’t be as good)
Step by step instructions for the Easy Gooey Chocolate Cake:
Step 1:
Grease and flour three 8-9 inch round baking tins and set aside. Preheat your oven to 180 degrees.
Step 2:
In a medium-sized bowl sift together plain flour, cocoa, bicarbonate of soda , baking powder and salt and then put to one side.
Step 3:
In a large bowl, using an electric whisk or mixer, beat together oil and sugar on a medium speed until ‘fluffy’ ( if you use a brown sugar it won’t fluff up as well) for about 1 minute.
Step 4:
Next beat in eggs and vanilla extract until combined. It will take around 2 minutes. Then add in buttermilk/ (sour cream/ yoghurt and milk ) together with the coffee/ cola until combined for around 1 minute. Then slow your whisk / mixer speed to low and gradually beat in the flour mixture you set aside until just combined ( check them bottom of the bowl though…it can get stuck there). The batter will be very thin- don’t worry this is right!
Step 5:
Pour batter into the prepared tins and bake per them for around 20-25 mins or until the cake no longer jiggles in the tin . You can test it’s fully cooked by using a clean toothpick or screwed and inserting it into the middle, if it comes out clean it’s cooked. Be very careful not to OVER-BAKE! I checked mine every minute from 18 mins onwards.
The All Amazing Flour Buttercream!
If like me you don’t like the hideously over sweet American style butter cream that’s full of icing sugar then I am very happy to introduce this into your life. If you like regular buttercream you can skip this step for your Easy Gooey Chocolate Cake and go with your usual recipe,
But if you are like me, you’ll never again have to scrape off your buttercream from the top of your cupcakes or birthday cake. This delicious thick and creamy buttercream will tick all of the boxes; it’s pipe-able, spreadable, you can make it as sweet as you like and most importantly it’s super yummy!
Ingredients For the Flour Buttercream
70g Plain flour
100g Caster sugar ( you can use more, up to 300g or less I’ve done it with 50g works but 100g works perfect for a very subtle sweet flavour)
A pinch of salt
480ml Full Fat or Semi Skimmed Milk
450g unsalted butter, softened at room
temperature (don’t use margarine)
½ teaspoon vanilla extract( It’s so much better than the artificial one)
If you want a chocolate butter cream you can add approx 50g of coco powder towards the end.
But this recipe can work as a standard vanilla buttercream. You can also add any omit the vanilla for another flavour ( lemon coffee etc) or add a colour once the buttercream is made
Step by step instructions for the Easy Gooey Chocolate Cake:
Step 1:
Combine the sugar, flour and salt in a medium-sized saucepan and whisk or stir until combined with no lumps.
Step 2:
Add the milk and whisk to combine. Because you’ve already stirred the flour, sugar and salt together, there won’t be any weird lumps! Wooo!
Step 3:
Place saucepan over low heat and allow the mixture to come to a very slow boil, whisking continuously ( very important not to stop). Once the mixture starts bubbling, you will need cook for 1-2 minutes ( set a timer if it helps) stirring the whole time until the mixture becomes more thick a thick pudding like consistency.
Once you have reached this point take the pan off the heat and continue to whisk for another minute to help beat some of the heat out of the mixture. This will allow it to cool quicker. At this point It should resemble PVA glue.
Step 4:
At this point you need to cover the pudding with cling film ( make sure you press the clingfilm directly onto the mixture so it’s touching the whole surface to avoid a crust forming) and then place in the fridge or somewhere cold . I usually place it outside (if it’s cool outside ) If you’ll struggle to fit your saucepan in a fridge and it’s not cold enough outside you then you can transfer to a shallow dish and cover. Leave it there until it’s at room temperature.
Remember to take you butter out of the fridge so it’s room temperature for the next process!
Step 5:
Once the pudding mixture is at room temperature you need to measure out and beat the butter in a mixer until it’s pale ( the whiter the better ) and doubled in size. I beat mine for about 10 mins. It’s a really important step not to miss as this will make your butter cream super fluffy and soft. You’ll need to rubber spatula to scrape the sides down a few times to ensure it’s all being beaten.
If you are making a chocolate frosting here’s where you’ll add your coco power and combine!
Next step is to add a spoonful of your pudding mixture to the butter and beat in. Do this one at a time until it’s all combined and fluffy.
Finally, use your spatula to push the buttercream against the sides of the bowl to make get rid of any large air bubbles. This is important only really important if you plan to pipe your buttercream as it make it lot easier without huge air bubbles.
You will need to use the butter cream immediately or store it by covering it and placing in the fridge. It should last for up to 7 days. If you do this before you want to use it, you will need to allow buttercream to come to room temperature and mix briefly until smooth and creamy again.
This Buttercream can also be frozen in a zip-lock bag for up to two months!! I often make up a huge batch and store for future baking. You will need to allow the buttercream to thaw in the fridge overnight, then allow to come to room temperature and mix until smooth and fluffy before use.
If you out your cake in the fridge you’ll need to allow it to come to room temperature before serving.
And now for the fun part!!
Once your cake it cool as your butter cream is ready you are ready to assemble!
Place a few small dollops of buttercream on your cake stand and place you first layer of the cake topside down. Using a platte knife spread a thin, even layer of butter cream and add the next cake layer , again top side down. Repeat another thin layer of buttercream and place the last cake layer on top with the top down and the flat bottom in the top. Next step is to add a thin crumb layer of butter cream all over. Then once to in have this in place chill for 10minutes.
Take the cake back out of the fridge and using a your clean palate knife and a cup of hot water start to add another layer of buttercream . Use a hot platte knife to smooth the sides and top. You need to wipe if any excess buttercream on some kitchen paper of a spare side plate. Keep dipping the knife in water and work your way around the cake until it’s smooth and even.
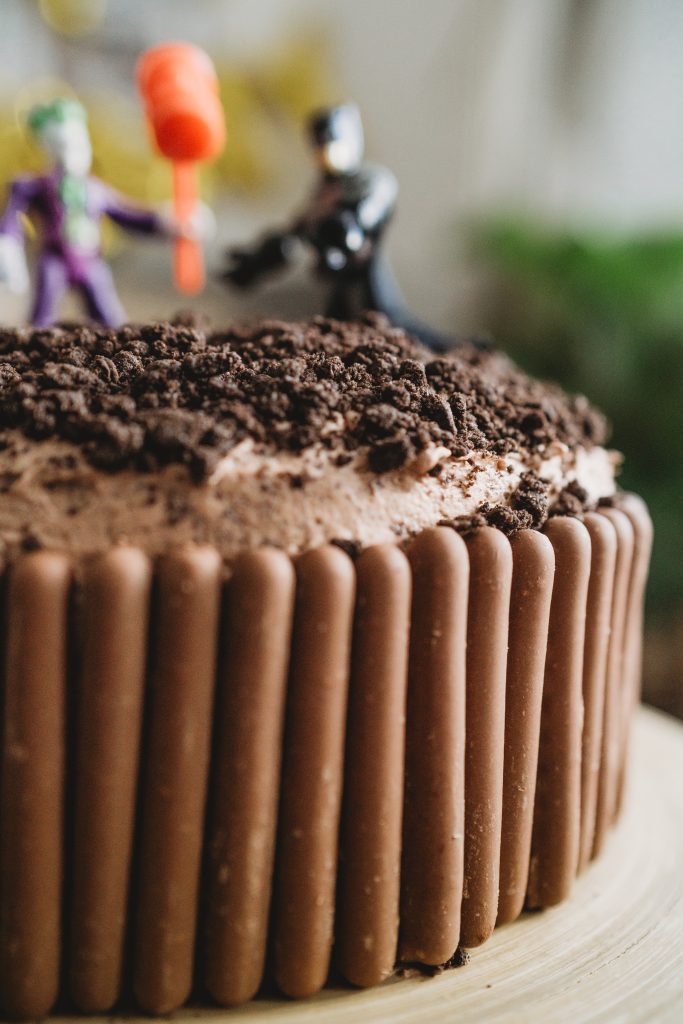
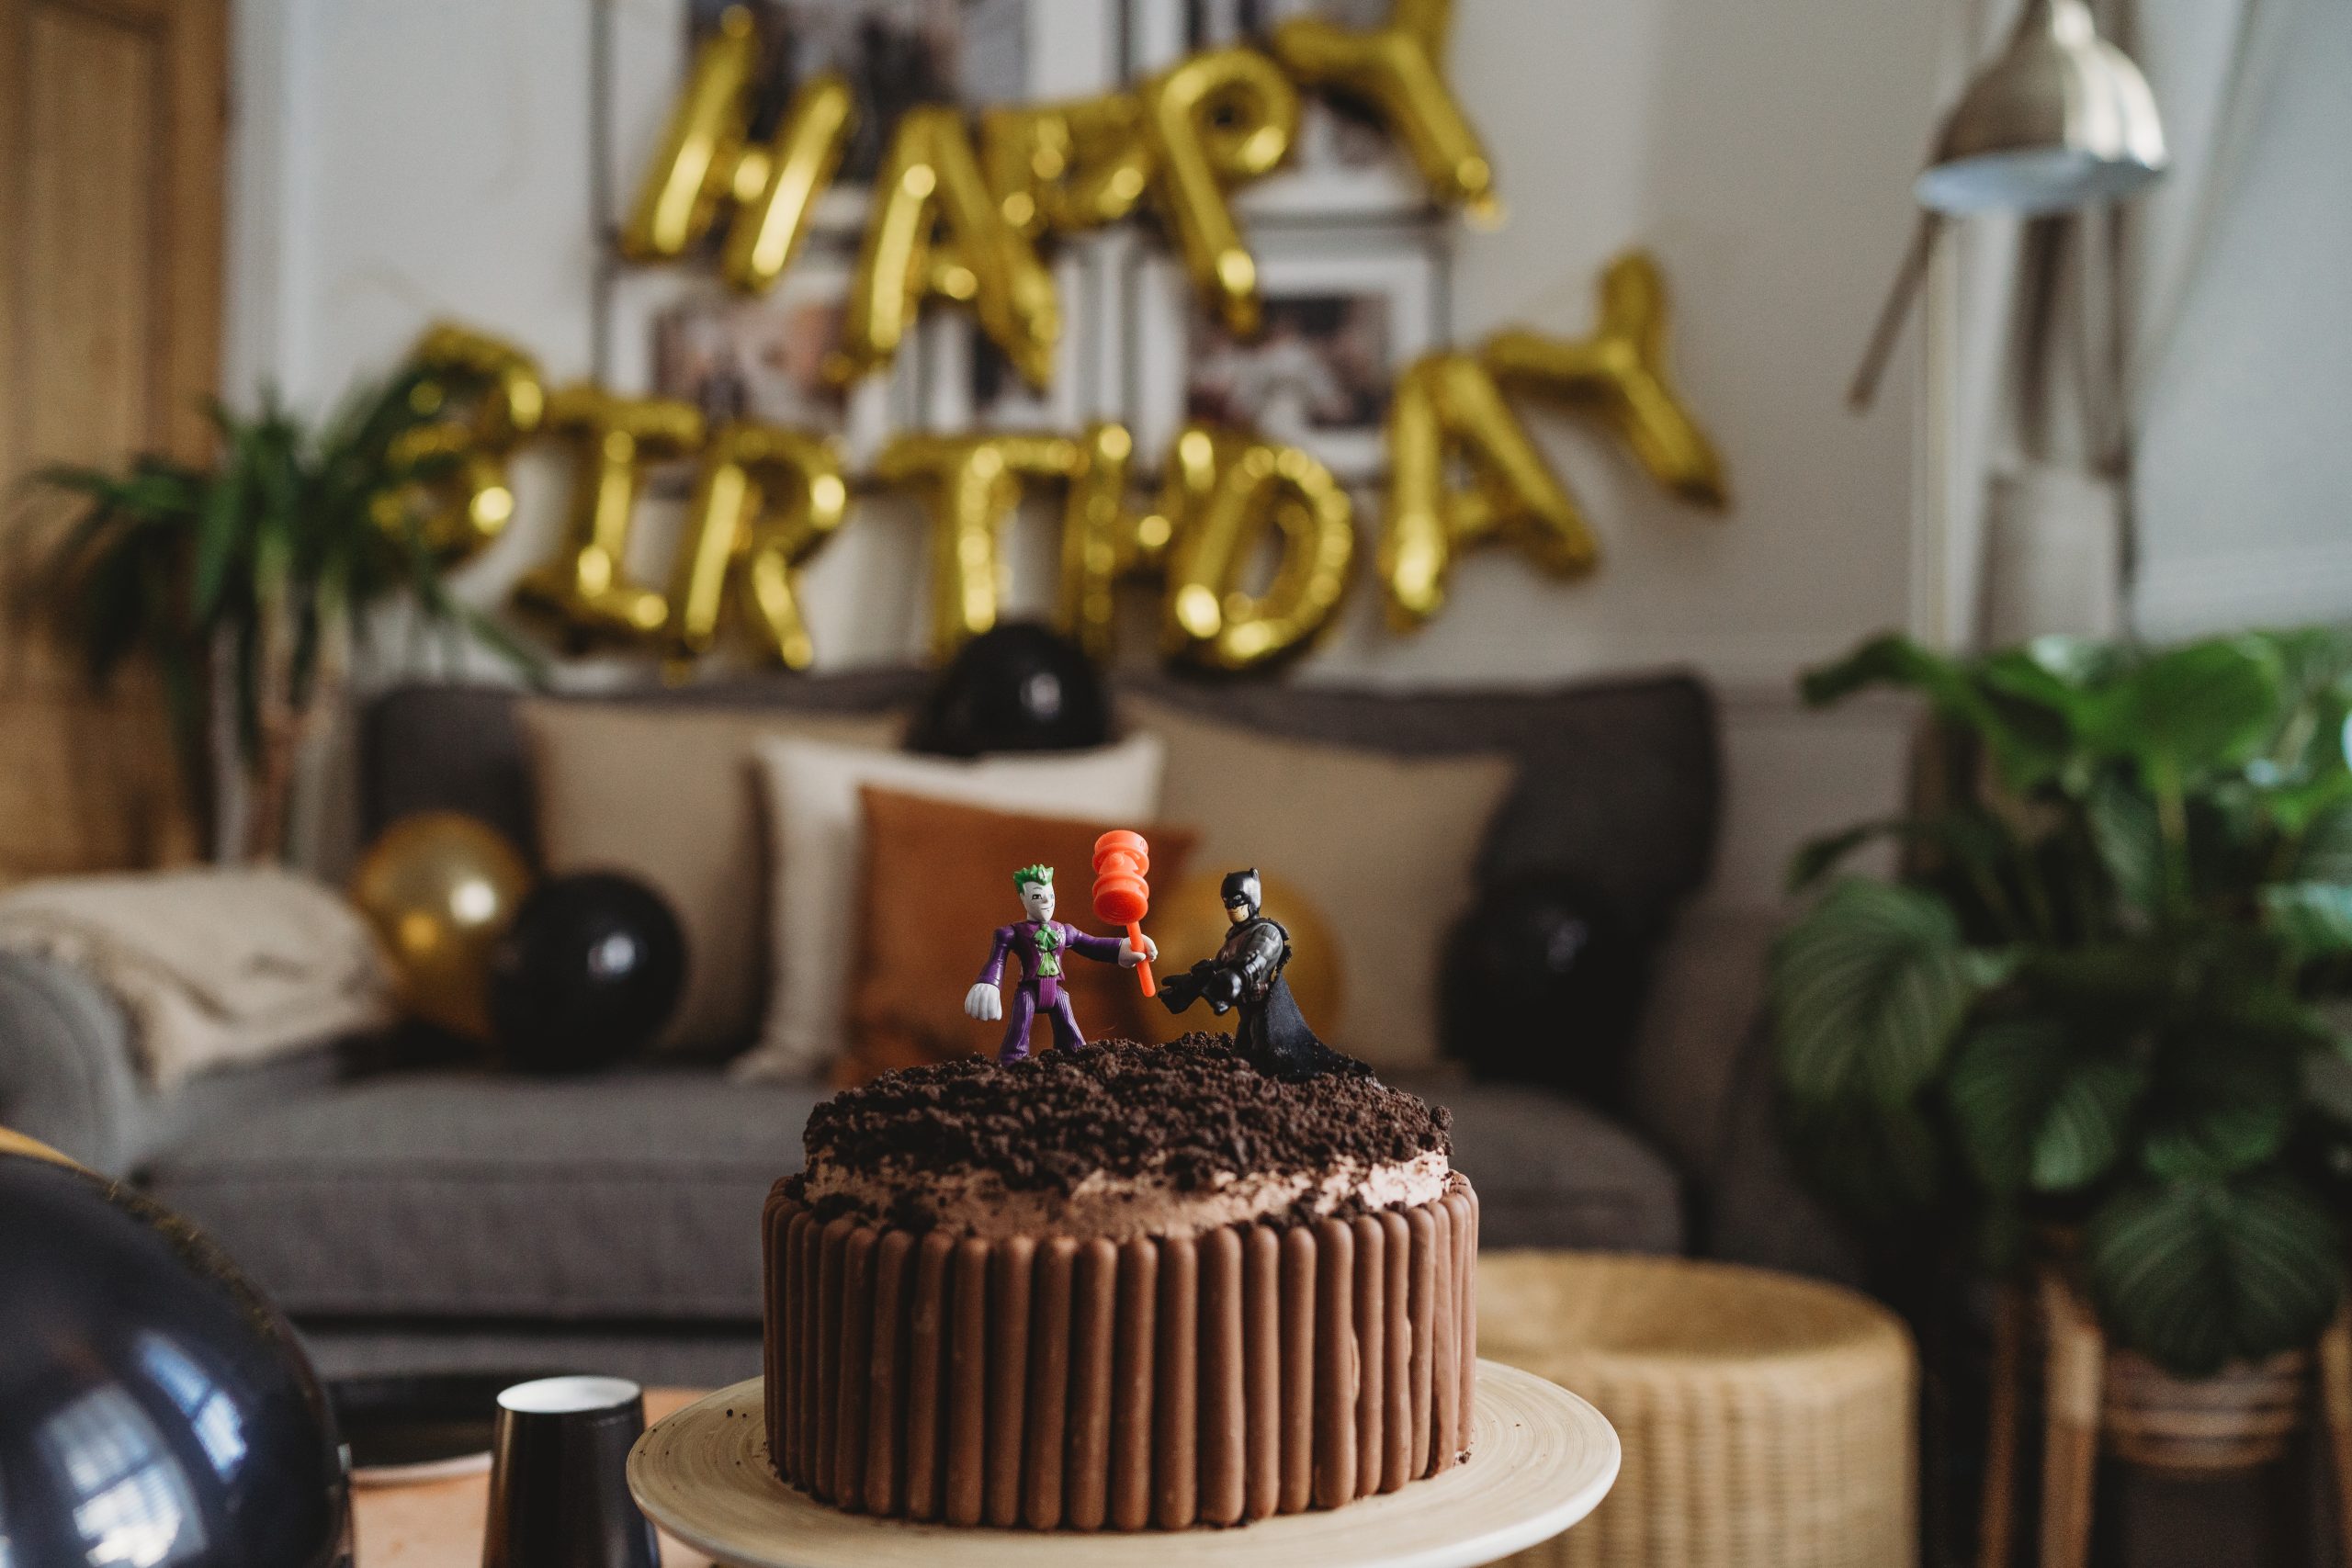
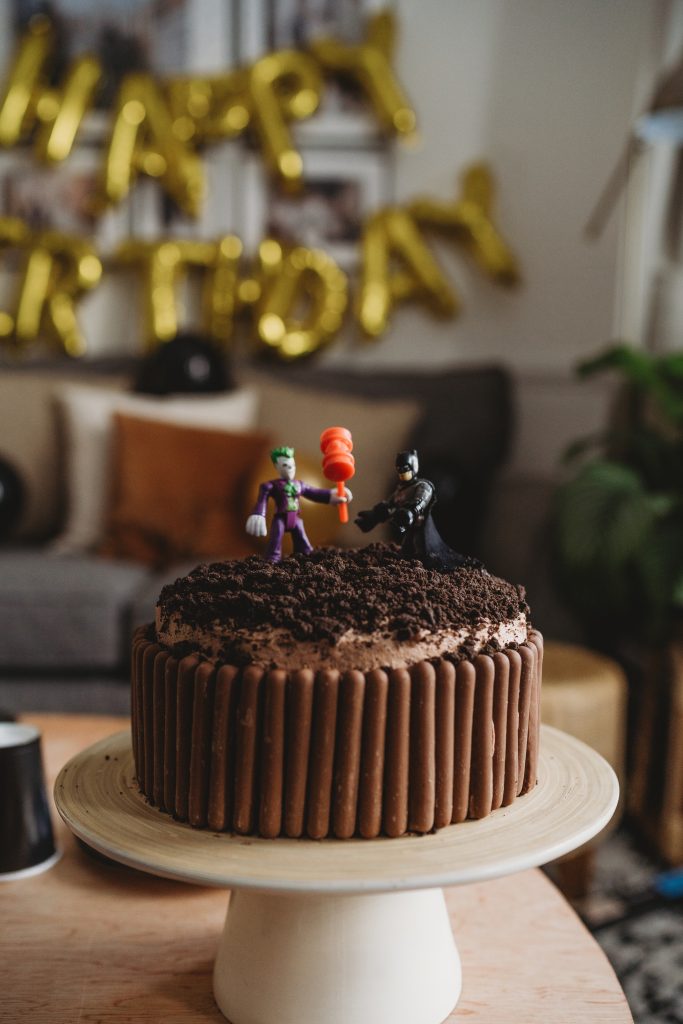
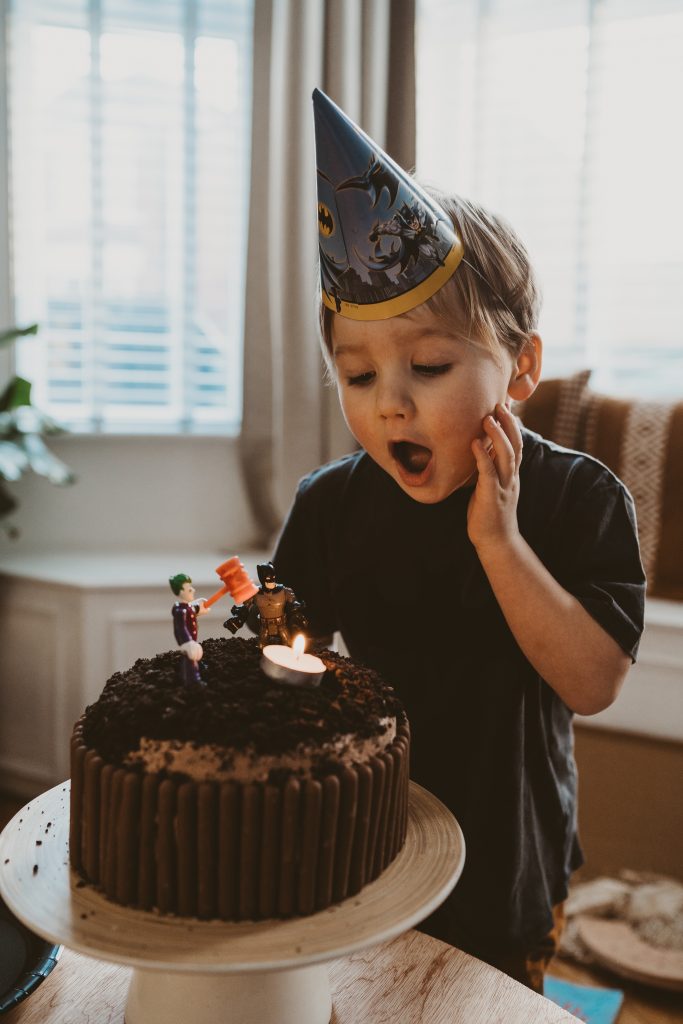
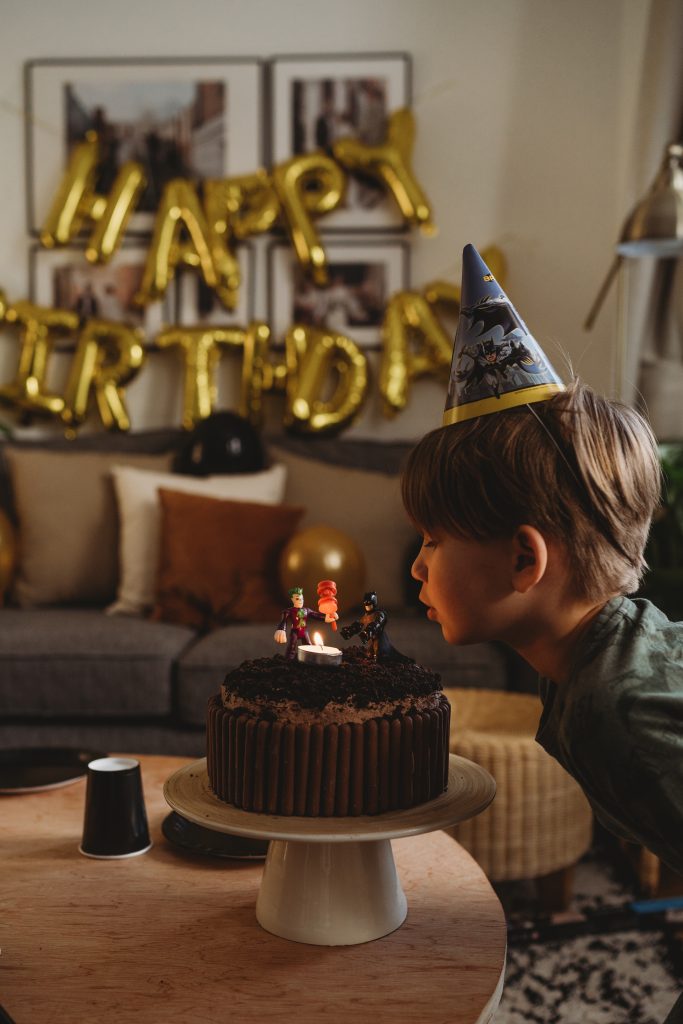
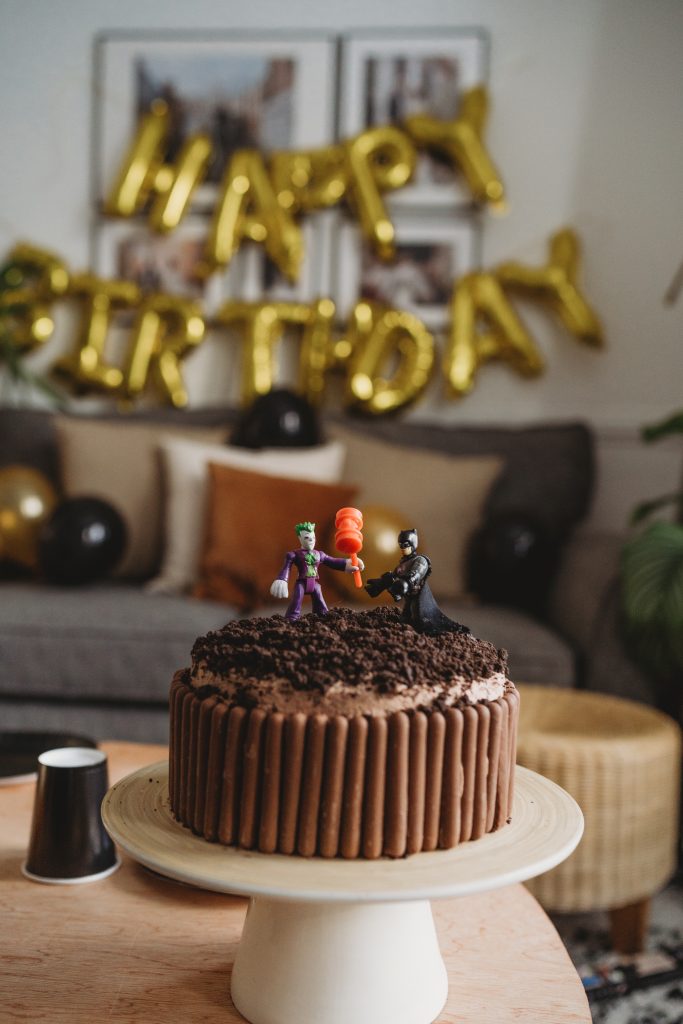
Once you are happy with your cake this is where you can now add what ever decorations you like! We opted for chocolate fingers, and crushed ores and some of his favourite figures because , well the rules for Birthday cake decorations are… there are no rules! ❤️
I love chocolate cake. Thanks for sharing this recipe.
no worries glad you liked it x